How to prevent stencil bleeds
By Ashton R. Young
Preventing paint-bleeds when using a stencil is almost always a problem and there are almost as many recommendations for dealing with it. The following method suited the parameters of our particular project, which included such considerations as paint viscosity, under-layer absorption, the line quality of the image to be sprayed, the scale of the image, and the time available for completing the work.
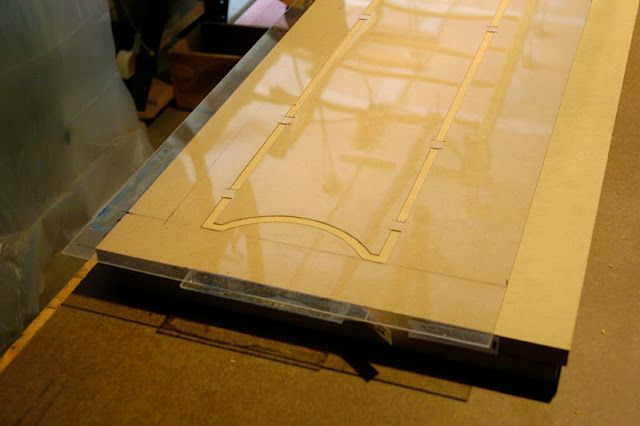 |
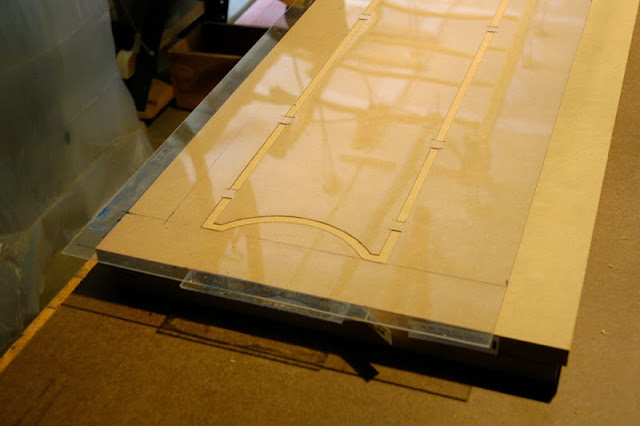
| At the outset, we chose to cut the stencil from .030 polished vinyl. Cuts were made with a utility knife (care being taken to ensure as clean and sharp an under-edge in the cut as possible). |
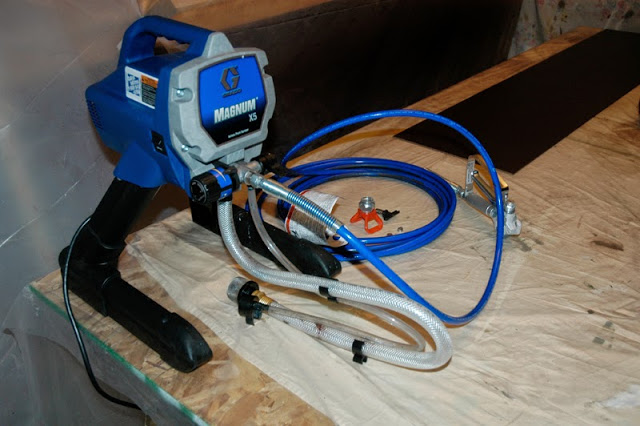 |
| The sprayer we used. |
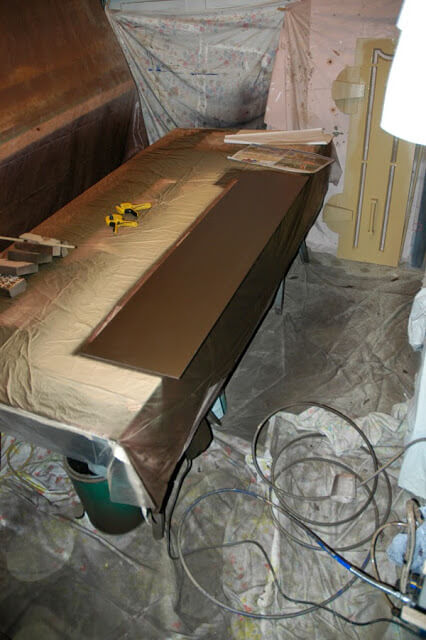 |
| An ornamental panel, coated with two applications of latex interior paint, is placed on the edge of the workbench in the spray tent. |
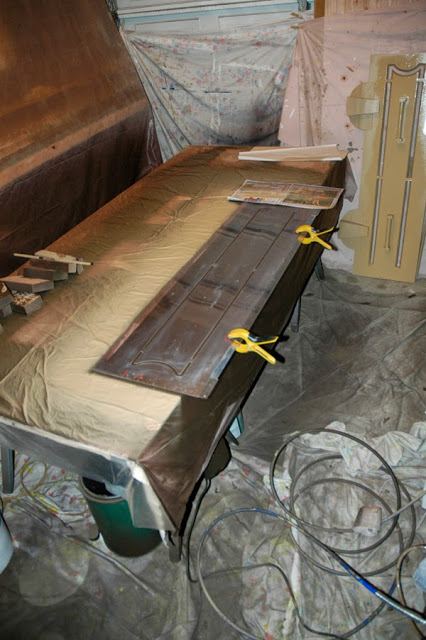 |
| Grip-clamps are used to hold the stencil in position. |
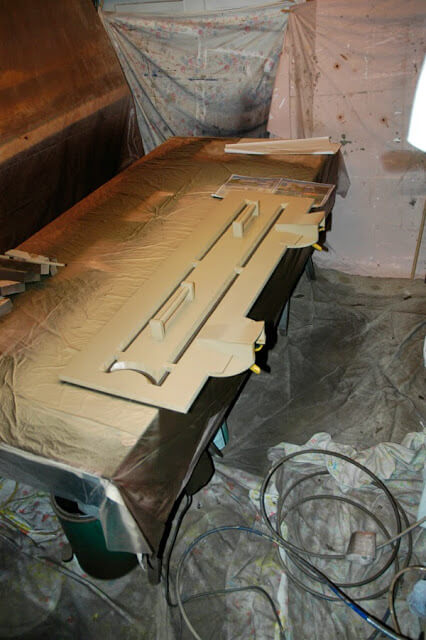 |
| The hand-press is put in place. Hand-holds provide for direct pressure and convenience in pressing the stencil against the surface of the prepared panel. Clamp masks built into the stencil simply protect the clamps from paint accumulation. |
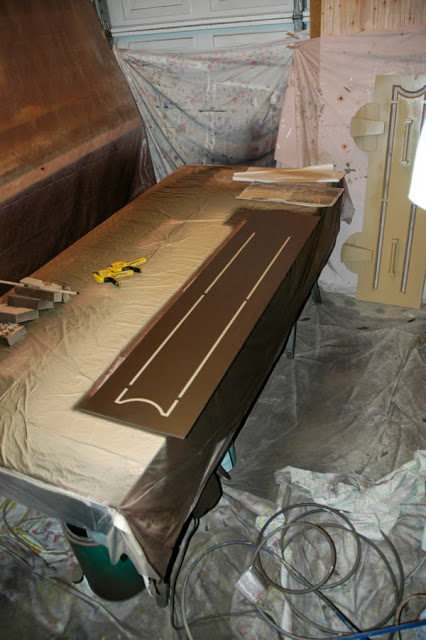 |
| Upon completion of the spraying, gaps and bleeds in the result were trimmed by hand.
Visit us on Pinterest to see more photos of this and other stages of the Stein Eriksen Lodge Deer Valley conference center project. |
Tags: 2013, Tips and techniques, Tools supplies and operations
Browse articles by year: 2026 . 2025 . 2024 . 2023 . 2022 . 2021 . 2020 . 2019 . 2018 . 2017 . 2016 . 2015 . 2014 . 2013 . 2012 . 2011 . 2010 . 2009 . 2008 . 2007 . 2006 . 2005 . 2004 . 2003 . 2002 . 2001 . 2000 . 1999 . 1998 . 1997 . 1996
Browse articles by topic: Art lessons . BenHaven Archives . Blank art diaries . Fine art photography . Framing . Illustration . Inspiration and creativity . Isles of Rune . Limited Editions Collection . My Fathers Captivity . News . Novellas . Oil paintings and prints . Operations announcements . Orders and shipping . Overview . Portfolios . The Papers of Seymore Wainscott . Project commentaries . Recipes by Nancy Young . Recommended reading . Recommended viewing . Temple artworks . The Storybook Home Journal . Tips and techniques . Tools supplies and operations
Browse articles by topic: Art lessons . BenHaven Archives . Blank art diaries . Fine art photography . Framing . Illustration . Inspiration and creativity . Isles of Rune . Limited Editions Collection . My Fathers Captivity . News . Novellas . Oil paintings and prints . Operations announcements . Orders and shipping . Overview . Portfolios . The Papers of Seymore Wainscott . Project commentaries . Recipes by Nancy Young . Recommended reading . Recommended viewing . Temple artworks . The Storybook Home Journal . Tips and techniques . Tools supplies and operations
